
I know what you’re thinking: “What the hell is gOS?” gOS is a free operating system that’s now being sold on some low end Walmart PCs. At $200 the PCs are actually a decent deal for those who plan on installing a pirated copy of Windows XP. Just for fun though, I thought I’d check out gOS what it does.
The official gOS website does very little to show screenshots or explain what it does. It also does a poor job of explaining that gOS (despite the name) isn’t a Google product. Maybe they’re hoping to capitalize on the similiarity the way Michael Robertson did with Lindows. (either way, it looks like gOS is destined for a similar fate.)
Remember how Lindows Linspire used the tagline of “the world’s easiest desktop linux?” When it comes to ease of use gOS might just win here due to it’s total lack of well, everything.
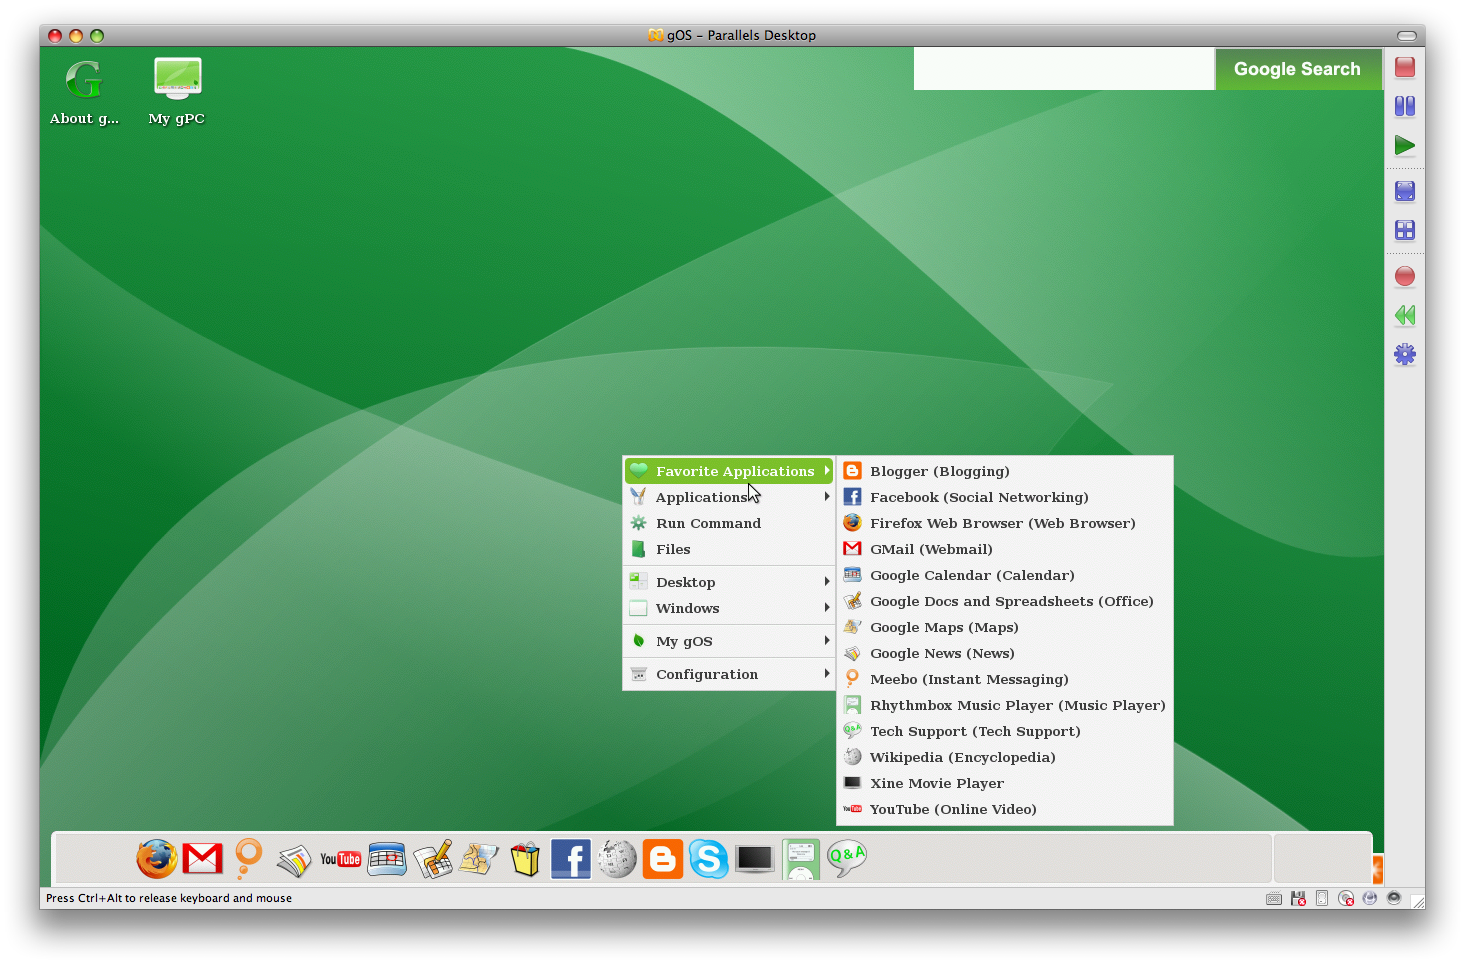
Basically, gOS offers openoffice, firefox, xine, thunderbird, gimp, pidgin, and skype. It also includes “applications” like youtube, google docs, gmail, meebo, blogger, and facebook – causing some to call it a web based operating system.
Unfortunately, when it comes to the install procedure, gOS fails miserably – especially on parallels for the Mac. If you try to do it normally, the video doesn’t work and it dies.
So, here’s how to install gOS on parallels. Most of this information comes from a forum post on the parallels forum, but that post doesn’t seem to be around anymore so I’m providing it here too.
1.) Download the .iso file from thinkgos.com
2.) Create a new virtual machine in parallels. You can use the ubuntu settings since gOS is really just a stripped down ubuntu. I’m going to assume you’re already familiar with setting up a virtual machine on parallels.
3.) After booting the CD, hit F6 to go into the install options. At the bottom you’ll see a long string that ends with “splash –” You’ll want to delete that and then hit enter to install. This removes the gOS splash screen during install and lets you see what’s happening.
4.) The video problems I talked about earlier will now cause the screen to go back and forth between an ugly mess and the terminal. While it’s in the terminal, hit ctrl-c to kill that script and take you back to the shell prompt. If you wait long enough, you’ll get a warning that says the display has crashed 6 times and it will ask you to hit ok. Hit OK, and then you’ll have about 2 minutes to do the next steps. (otherwise, you have to do them between the flashing)
5.) Now you need to edit your xorg.conf file as root. Something like: sudo pico /etc/X11/xorg.conf will work fine if you know how to use pico. If you know how to use vi, the “open your xorg.conf” instruction should be enough for you.
6.) At the very end of the file, you’re going to need to enable the Xinerama option. Type this:
Section “ServerFlags”
Option “Xinerama” “True”
EndSection
Now save and exit the file. (ctrl x, y, enter if you used pico)
7.) Back at the command line, type “startx” to start up the display server. It may warn you about resolution, but it will work this time.
8.) Install the operating system by following the on screen directions.
9.) When it reboots, press ESC to get to the boot menu, and select “recovery mode” to get a shell prompt.
10.) Lastly, we need to remove gdm from the startup. Do that by typing update-rc.d -f gdm remove
Now you’re all set. type “startx” again and you should boot into gOS.
Congratulations, you’ve just installed a big pile of suck on your Mac!
here’s some screenshots:
Thanks to you, now I can install it !
I was looking for that since I tried and it didn’t worked.
thx alot
Comment by Seb — November 14, 2007 @ 7:57 pm
check this : http://www.youtube.com/watch?v=vx2Dkjo6U6c
thanks again
Comment by Seb (again) — November 14, 2007 @ 9:59 pm